Making a cushion yourself offers a simple and rewarding experience that combines creativity and personalization. This accessible project is perfect for all skill levels, from curious beginners to seasoned sewists. It allows you to add a decorative style to your interior without major renovations. A handmade cushion instantly transforms a sofa, armchair, or bed, bringing warmth and uniqueness to the space. In addition to being a functional object, it becomes a truly personalized decorative element, offering the possibility to choose shapes, materials, and finishes. This tutorial details each essential step to create successful cushions, from selecting fabric to installing a zipper, with practical tips for a neat and durable finish. Whether updating your decor or giving a handmade gift, learning to sew a cushion opens the door to a joyful creative universe that invites experimentation with patterns, colours, and textures freely.🎀🧵
Why sew your own cushion? Creativity, personalization, and an easy project for beginners
Decorative and practical benefits of making your own cushion
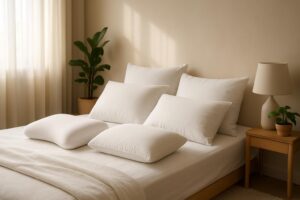
Handmade cushions are both decorative and functional. By creating your own, you can achieve perfect harmony with your existing furniture and textiles. Customization offers endless possibilities: colours, patterns, shapes, textures—all can be tailored. It’s an easy way to create a cozy and welcoming atmosphere without undertaking major work or a big budget.
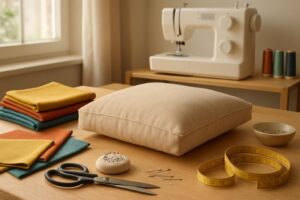
Practically speaking, making a cushion is an ideal sewing project because:
-
✅ It requires minimal materials and supplies.
-
✅ Its basic techniques are easy to master, even following a simple tutorial.
-
✅ It suits all styles, from very classic cushions to more original designs.
-
✅ The process is quick, providing a satisfying sense of accomplishment.
-
✅ It can be made removable and washable with suitable systems like zippers.
Beyond its decorative aspect, sewing a cushion develops patience and precision, while sharpening attention to textile work. For an interior that evolves with the seasons or moods, nothing beats these DIY projects to infuse a touch of freshness and instant personality.

|
Advantages of sewing your own cushions 🧵 |
Decor impact 🎨 |
Practical aspect 🛠️ |
|---|---|---|
|
Full creativity |
Style personalization |
Easy for beginners |
|
Flexible pattern choices |
Coordination with furniture and textiles |
Removable and washable system |
|
Quick and rewarding project |
Frequent decor updates |
Minimal materials needed |
|
Handmade satisfaction |
Warm, cozy ambiance |
Suitable for all budgets |
Choosing the ideal fabric and preparing your cushion pattern: key steps for a successful result
Fabric selection: cotton, linen, velvet, wool, or outdoor fabric depending on use
The choice of fabric is crucial to ensure the cushion is both attractive and functional. Select the material based on the cushion’s intended use and location:
-
🧵 Cotton and linen: easy to work with, durable, and pleasant to the touch, perfect for indoor use. Their tight weave provides good structure and they accept dyeing and printing well.
-
🪶 Velvet and wool: thicker, plush fabrics that add a luxurious and warm look, ideal for winter cushions or more sophisticated styles.
-
🌞 Polyester, nylon, or technical fabrics: suitable for outdoor cushions, resistant to weather, light, and moisture, while remaining easy to maintain.
A key point is to consider the direction of patterns if the fabric has any, ensuring the orientation is consistent on each face of the cushion. Finally, the fabric’s thickness should be enough to hide the filling while feeling comfortable to the touch.
|
Type of fabric |
Recommended use |
Main characteristics |
|---|---|---|
|
Cotton, linen 🌿 |
Comfortable interior |
Easy to sew, durable, washable |
|
Velvet, wool ❄️ |
Winter decorative cushions |
Soft, thick, warm, luxurious style |
|
Polyester, nylon 🌦️ |
Outdoor cushions |
Water-resistant, UV-resistant, washable |
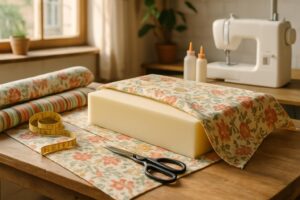
Preparing your cut: measurements, seam allowances, and pressing fabrics
Before sewing a cushion, preparation is a key step to ensure a flawless result. First, take precise measurements of the desired cover, considering the final cushion size and padding. For a square cushion, the standard rule is to add 2 cm for seam allowances, or 1 cm per side. This prevents ending up with a cushion that’s too small and difficult to stuff.
The tutorial also recommends tracing a simple pattern on tracing paper or cardboard, allowing for easy adjustments of shapes (rectangle, square, or more original forms like round, cloud, or daisy). The shape choice determines how you cut and assemble the pieces.
An essential step is to iron the fabrics carefully before cutting. The iron smooths fibers and facilitates clean cutting. Creases and marked points will help align pieces correctly during sewing. Preparing this step thoroughly avoids many issues during assembly and ensures a neat finish.
-
✂️ Measure the final size of the cushion + seam allowances
-
📐 Trace the pattern suited to your chosen shape
-
🔥 Always iron the fabric before cutting
-
🖊️ Mark folds and reference points with chalk or fabric marker
Step-by-step guide: how to sew a custom cushion, from assembly to perfect finishing
Popular assembly methods: envelope cover, zipper, ties, and reversible cushion
Several assembly techniques can be chosen based on skill level and intended use. The simplest is the envelope cover: it involves overlapping two fabric panels at the back, sewn along the sides, leaving an opening for inserting the padding. This method requires no special equipment and is perfect for beginners with a clear tutorial.
The zipper is ideal for a removable cushion, making cleaning easier. You can install a standard or invisible zipper for a more discreet and elegant look. This technique requires a bit more attention, especially to align the zipper properly with the fabric, but it greatly enhances the cushion’s durability.
For a more playful assembly without sewing, ties with heat-seal strips or braided cords transform the project into a fun DIY workshop. Finally, a reversible cushion combines two different fabrics, sometimes linked by a zipper, to vary the style as desired.
-
🧵 Simple and quick envelope cover: perfect for beginners
-
🔐 Standard or invisible zipper for easy removal
-
🎀 Ties or heat-seal strips: sewing without a machine
-
🔄 Reversible cushion for double style
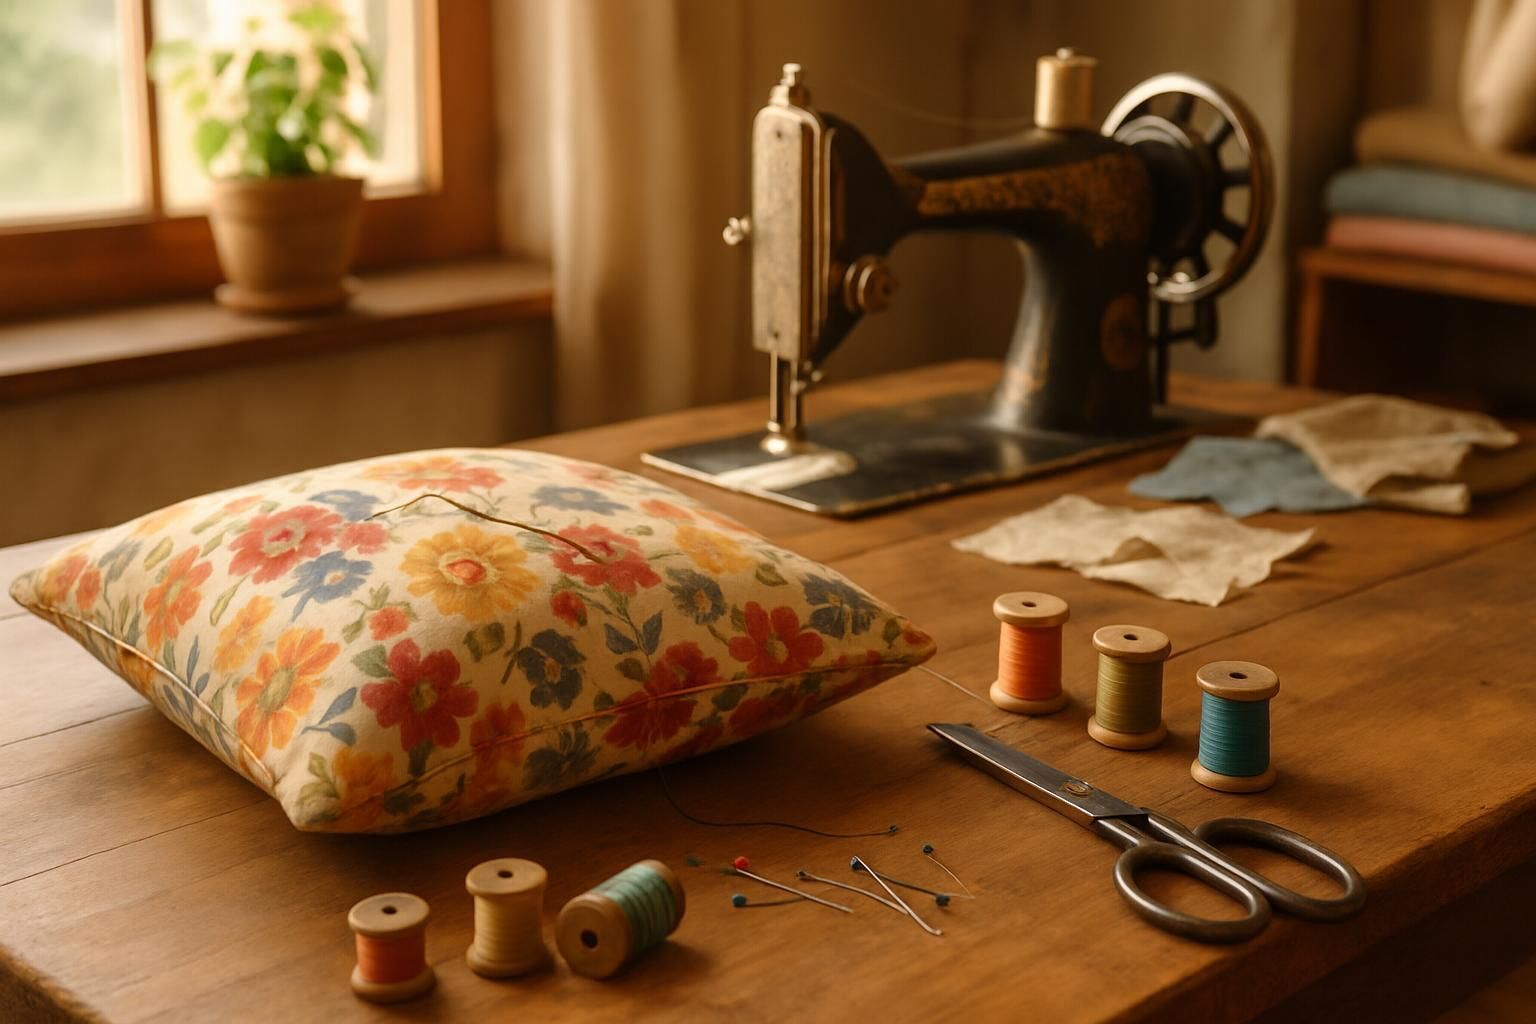
Sewing techniques for a perfect cushion: topstitching, clipping, pinning, and pressing
The success of a cushion relies on careful finishing. Good sewing starts with choosing the right stitch length on your machine and maintaining consistent seam allowances.
Edges should be overlocked to prevent fraying, especially on cotton or linen fabrics. After sewing, to achieve sharp corners, it’s recommended to clip the corners: cut a small triangle at the seam allowance to reduce bulk when turning the cushion right side out.
The pinning step is crucial, especially for patterned fabrics where perfect alignment is required. Pin perpendicular to the seam for accuracy. Finally, pressing the seams as you go helps flatten them and gives a professional look to your cushion.
-
🔧 Sew along the seam allowance
-
🧷 Securely pin, especially on patterned fabrics
-
✂️ Overlock edges for durability
🔪 Score the angles before turning
-
🔥 Iron between each step for precision
For stuffing, insert foam padding or batting according to the desired firmness. Ready-made stuffing simplifies this step greatly. Distribute the contents evenly to avoid lumps. Finally, close the opening with a blind stitch by hand or a final topstitch to perfect the finish.
Tips for customization, maintenance, and technical advice for durable and unique handmade cushions
DIY Ideas: embroidery, appliqué, customization, and fabric recycling
Personalization is at the heart of the magic of DIY cushions. To create a unique piece, several options are available. Embroidery, whether traditional, botanical, punch needle, or with decorative stitches, adds an authentic touch and showcases craftsmanship highly appreciated.
Heat-adhesive appliqué, patchwork, and geometric or floral patterns allow you to assemble various fabrics for a graphic and colourful result. Customization with pom-poms, braids, ribbons, or even glitter fabrics transforms a simple cushion into a true statement piece in your decor.
In an eco-friendly approach, recycling fabric scraps, old linens, or clothing becomes a valuable source of inspiration to avoid waste. This creative process encourages resourcefulness and gives a second life to often forgotten textiles.
-
✍️ Botanical embroidery, punch needle, Richelieu
-
🧩 Heat-adhesive appliqués and patchwork
-
🎀 Customization with braids, pom-poms, and ribbons
-
♻️ Recycling scraps and old linens
Easy maintenance tips to prolong the beauty of your handmade cushions
To preserve the beauty and durability of cushions, choosing washable fabrics is essential. Cotton and linen generally tolerate machine washing in cold water on a delicate cycle. Removable covers make maintenance much easier, as you only need to remove the cover before washing. Regular ironing improves appearance and keeps seams crisp.
Adjusting household textiles seasonally by switching to lightweight fabrics for summer (cotton, fine linen) and thicker textures in winter (velvet, wool) can refresh your interior decor at low cost. Finally, avoiding frequent washing and opting for gentle cleaning will extend the lifespan of homemade cushions.
|
Care Tips 🧺 |
Recommended Practice |
Longevity Tip |
|---|---|---|
|
Choose washable fabric |
Machine wash at 30°C on delicate cycle |
Use durable, natural fabrics |
|
Removable cover |
Remove before washing |
Facilitates cleaning and protects the work |
|
Regular ironing |
Always apply at appropriate temperature |
Maintains crisp seams |
|
Seasonal rotation |
Change covers to lightweight or thick fabrics |
Refresh decor without significant cost |
Additional technical tips are valuable for successfully completing each project: adopting the correct thread tension on the machine, choosing the right needle for the fabric type, and using a specific presser foot when installing a zipper. Sewing at moderate speed on delicate fabrics prevents puckering and deformation. Always verify dimensions after each seam to ensure harmonious assembly. Patience and repetition are key to improving and developing your own personalized style.
In summary, sewing a cushion yourself is an invitation to reclaim your space by combining creative pleasure with textile craftsmanship. It’s not just about making a decorative object, but also about enjoying a fulfilling and motivating creative moment, where each detail promises comfort and bespoke aesthetics. These DIY projects delight sewing enthusiasts seeking elegant, durable results accessible to everyone. 🎉🧸
FAQ: Common questions about sewing cushions
What fabric should I choose for an outdoor cushion?
Opt for technical fabrics like polyester or nylon, which resist water, UV rays, and are easy to clean. These fabrics are specially designed to withstand tough weather conditions and last over time.
How do I install an invisible zipper on a cushion?
Use a special zipper foot and carefully pin the zipper to the fabric. Sew slowly, checking that the zipper remains aligned. Step-by-step tutorials are highly recommended to master this technique.
What type of stuffing should I use for a firmer cushion?
Dense foam is recommended for a firm, stable, and durable cushion, while batting is ideal for a softer, lighter cushion. The choice depends on the intended use (decorative, seating, travel).
Can I sew a cushion without a sewing machine?
Yes, using heat-adhesive strips or knotting techniques, a cushion can be made without a machine by following suitable tutorials. This method is perfect for beginners or friendly DIY workshops.
How to care for a handmade cushion to ensure it lasts a long time?
Opt for cold wash on a delicate cycle, always remove the cover before washing, iron at an appropriate temperature, and alternate fabrics according to the seasons to maintain the cushion’s freshness and durability.