Covering a rectangular foam cushion is an operation that is both accessible and rewarding, allowing you to extend the life of a decorative item while personalizing your interior. Choosing the right materials is essential before starting: the quality of the fabric determines not only the aesthetic appearance but also the durability and ease of maintenance. It is important to distinguish a fabric suitable for indoor use, which is generally softer and lighter, from an outdoor fabric, often treated to resist moisture and UV rays. Precision in taking measurements and rigor during cutting are key to the success of the project. The essential accessories include well-sharpened scissors, a reliable sewing machine, matching thread, as well as a tape measure and tailor’s chalk for markings. Ironing the fabric before cutting enhances the final appearance by removing creases. This careful preparation facilitates sewing and guarantees a cushion that is both sturdy and attractive. ✂️🧵
What materials should you choose to cover a rectangular foam cushion?
Selecting the right fabric for indoor or outdoor use
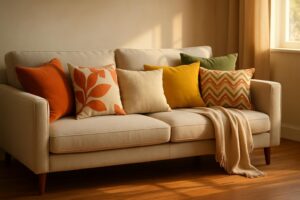
The choice of fabric is the first crucial step. For indoor use, opting for cotton, linen, or velvet fabrics ensures comfort and easy maintenance. These breathable materials are perfect for foam cushions used on sofas or armchairs in a living room. For outdoor use, the selection should lean towards specialized fabrics such as acrylic, coated polyester, or water-repellent textiles. These are designed to withstand rain, fading, and friction, thus ensuring the longevity of the cushion outdoors.
-
💧 Outdoor fabric: waterproof, UV resistant
-
🏠 Indoor fabric: natural, comfortable, easy to wash
-
🌿 Organic or recycled fabrics: eco-friendly trending option
In all cases, choosing a high-quality fabric ensures better durability over time, especially if the cushion is intended for frequent use. Remember to iron the fabric before cutting to ensure a smooth surface and precise work.
|
Criteria |
Indoor Fabric |
Outdoor Fabric |
|---|---|---|
|
Water resistance |
Low |
High 💧 |
|
Comfort |
Excellent 🛋️ |
Average |
|
Maintenance |
Easy to wash |
Wipe clean, hand washing recommended |
|
Durability |
Good |
Very good 🔆 |
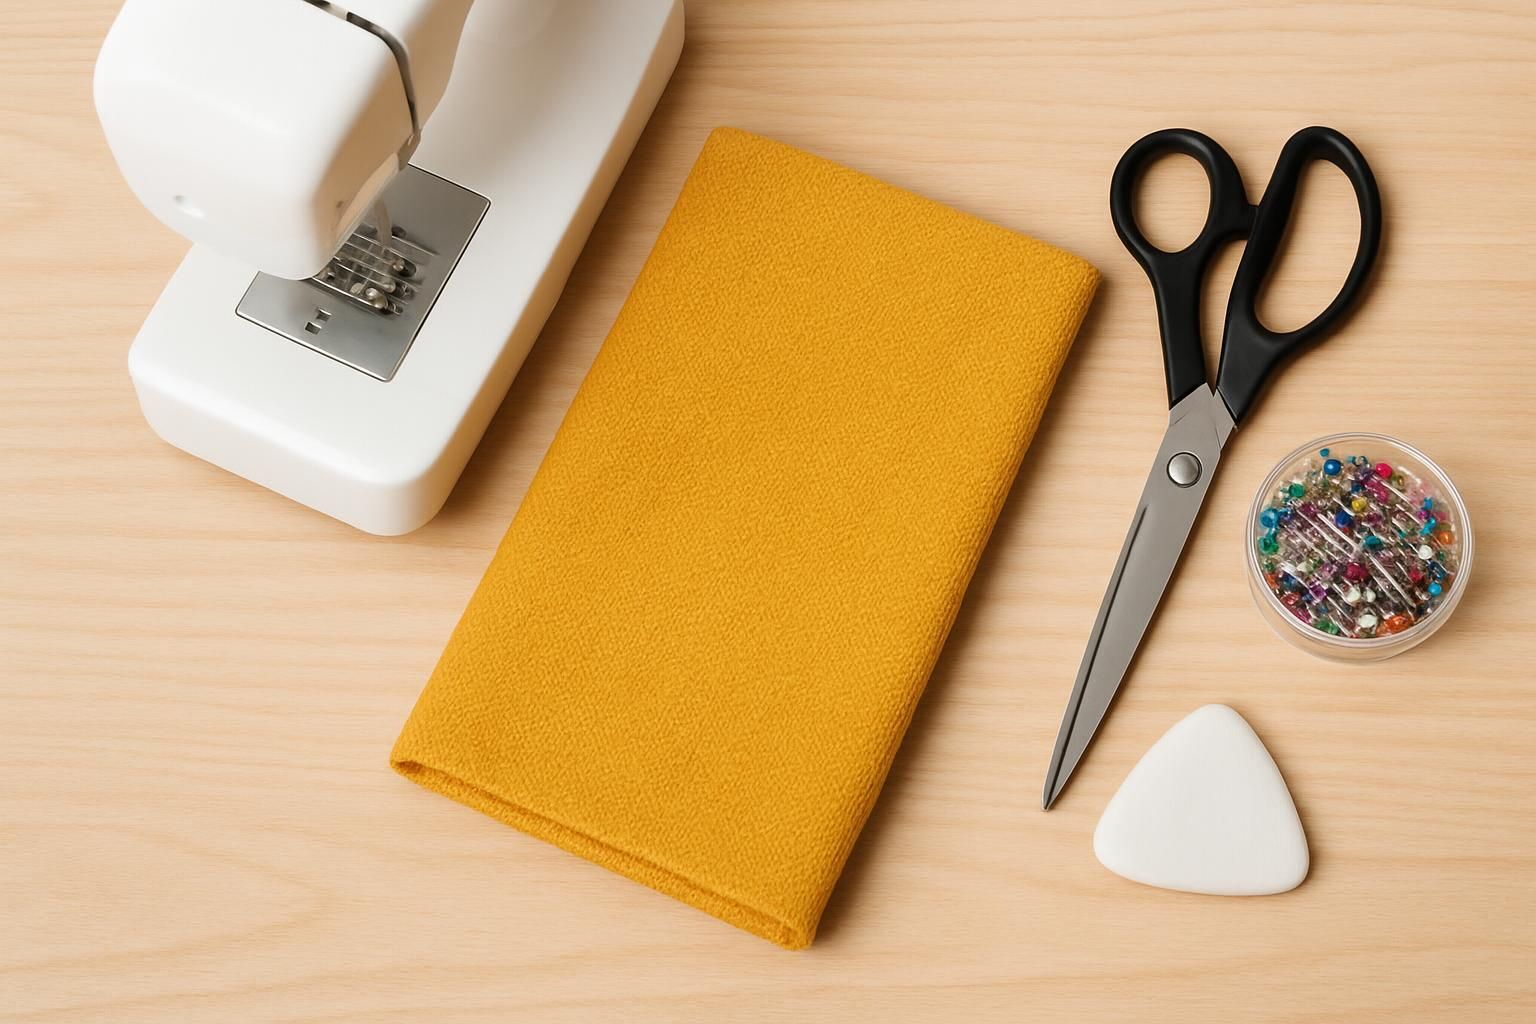
Essential accessories for making a successful cushion cover
Having the right tools greatly facilitates the process of making the cover. A sturdy sewing machine is essential to ensure even and strong stitches. Sharp scissors allow for clean cuts without fraying. Using a tape measure is indispensable for measuring the dimensions of your cushion, while tailor’s chalk helps mark without damaging the fabric. Pins or clips keep the pieces together for error-free assembly. Finally, matching thread ensures an aesthetic finish, avoiding visible or mismatched seams.
-
✂️ Sharp sewing scissors
-
📏 Flexible tape measure for measuring dimensions
-
🧷 Pins or clips to hold pieces together
-
🧵 High-quality thread matching the fabric
-
🪡 Sewing machine with straight and reinforced stitch options
-
🖍️ Tailor’s chalk for precise markings
-
🔧 Iron for preparing the fabric
It’s recommended to prepare a clean and well-lit workspace, as precision in measuring, marking, cutting, and sewing ensures an attractive and durable cushion cover for your cushion.
Essential steps to measure, cut, and assemble the foam cushion cover
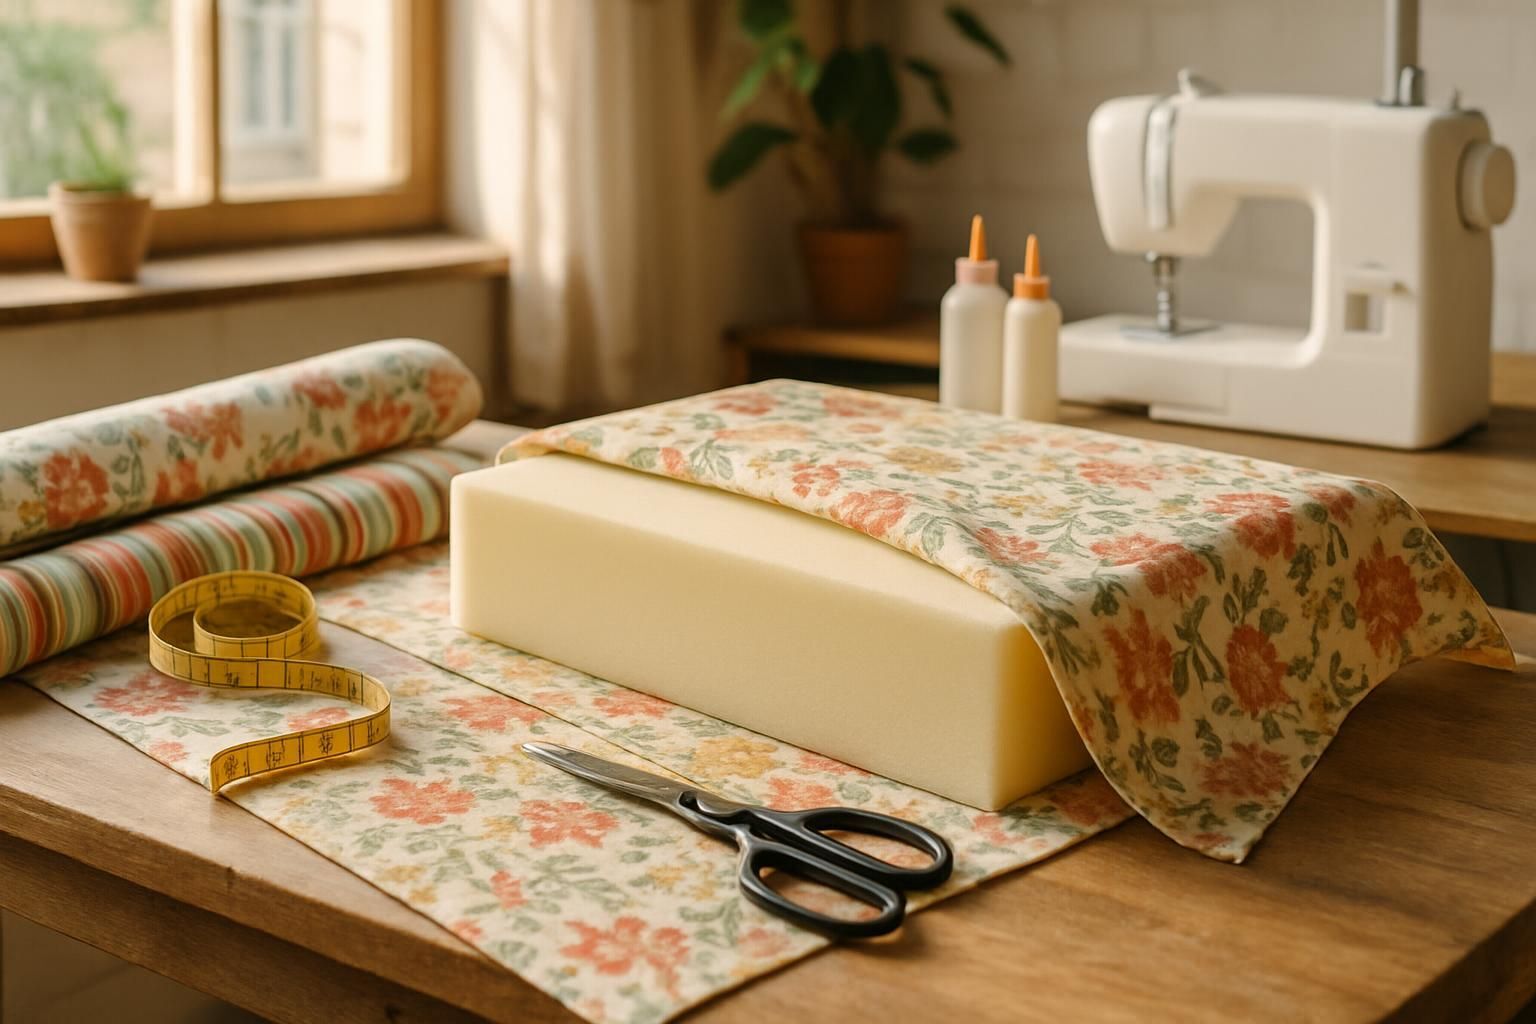
Accurately measure and cut the fabric for a perfect fit
The success of a cover primarily depends on accurate measurements. For a rectangular foam cushion, record the length, width, and thickness of the cushion. Then add a seam allowance of about 2 to 3 cm on each side to allow for assembly without tension.
The classic method involves cutting:
-
Two identical rectangles for the top and bottom
-
A side strip whose width corresponds to the cushion thickness plus margins
-
The length of the strip equals the cushion’s perimeter (2x length + 2x width) plus seam allowance
For example, for a cushion measuring 50 cm long, 30 cm wide, and 10 cm thick:
-
Rectangles: 54 x 34 cm (adding 2 cm seam allowance)
-
Side strip: (2 x 50 + 2 x 30) + 6 cm = 166 cm long; width 14 cm (10 cm + 2 x 2 cm)
Be sure to use a marking tool (chalk or erasable marker) to draw straight and precise lines. Mark all folds or hems for a neat finish before cutting. Iron the fabric carefully to facilitate this step and avoid hidden crease errors.
|
Actual cushion measurement 📏 |
Added margins ✂️ |
Fabric dimensions to cut ↔ |
|---|---|---|
|
Length: 50 cm |
+ 2 cm |
54 cm |
|
Width: 30 cm |
+ 2 cm |
34 cm |
|
Thickness: 10 cm |
+ 2 cm on each side |
14 cm |
|
Perimeter: 160 cm |
+ 6 cm |
166 cm |
Sewing techniques and tips for assembling a durable cover
Assembling the cover requires precision and method. Start by aligning the side strip with one rectangle, right sides together. Carefully pin this seam, ensuring an equal seam allowance according to your markings.
For delicate or slippery fabrics, hand basting with contrasting thread prevents movement during machine sewing. Once this first assembly is complete, attach the second side by repeating the step.
It is crucial to leave an opening of about 20 to 30 cm on one side of the cover to easily insert the foam later.
Straight stitches are best for strength, ensuring a consistent seam allowance. To reinforce the cover and prevent tearing, it’s recommended to strengthen the corners with backstitches or reinforced stitching.
An recommended sewing technique is clipping the corners, which involves making small perpendicular stitches to form square corners, adding volume and balance to the cover without flattening it.
-
📌 Carefully pin the pieces with right sides together
-
🧵 Baste delicate fabrics before sewing
-
🔒 Reinforce corners with backstitches
-
✂️ Cut corners at 1 cm to reduce bulk in the angles
-
🧰 Ensure a sufficient opening to insert the foam
Finishing touches, customizations, and practical solutions for a durable cushion
Choosing the right closure system for easy-to-maintain cover
The closure system determines the convenience of using and maintaining the cover. Several options are available:
-
🔒 Zipper: ideal for quick access and easy cleaning. Available in many sizes and colours, it provides durable hold over time.
-
🧷 Snap buttons: add a traditional and aesthetic touch, perfect for occasional or decorative cushions.
-
🎀 Velcro: easy to attach and quick to close, but may wear out faster and lose effectiveness.
-
🪡 Invisible hand sewing: a technique that offers a very neat finish, with no visible elements, suitable for experienced seamstresses.
The choice will depend on skill level, available time, desired style, and how frequently the cushion is used. For example, a zipper is preferable for a foam cushion that will be washed regularly.
|
Closure type |
Advantages |
Disadvantages |
|---|---|---|
|
Zipper |
Practical and durable 🔒 |
Requires technical installation |
|
Snap buttons |
Aesthetic and easy to install |
May come loose over time |
|
Velcro |
Quick to put in place |
Wears out quickly, noisy when rubbing |
|
Invisible hand sewing |
Very neat finish |
Technique difficult to master 🪡 |
Care tips, DIY tricks, and maintenance advice to prolong your cushion’s lifespan
Take care of the cushion is just as important as its manufacturing. Here are some tips to ensure the longevity of the look and functionality of the cover and foam:
-
🧼 Follow the washing instructions according to the chosen fabric, avoid machine drying to reduce deformation.
-
🧹 Regularly vacuum the cover to remove dust and dust mites.
-
🩹 Treat stains immediately with suitable solutions, for example Marseille soap for natural fabrics.
-
🌬️ Air-dry the cushion to prevent moisture and bad odors.
-
🔄 Turn the cushion regularly to even out the wear of the filling.
-
🔧 When renovating, consider replacing worn foam with new, suitable foam, or adding padding for extra comfort.
-
⚙️ Using a staple gun can be an alternative solution to fix the fabric onto some supports without sewing.
Applying these maintenance tips extends the life of your foam cushions and enhances their comfort. Regular renovation, including replacing padding or damaged parts, also contributes to a responsible and economical project.
FAQ – Frequently Asked Questions About Making Foam Cushion Covers
-
What seam allowance should be planned for a cushion cover?
It is recommended to add between 2 and 3 cm for seams to allow for strong sewing and a good fit. -
Can any fabric be used to cover a foam cushion?
No, the fabric must be suitable for indoor or outdoor use and sufficiently durable to prevent rapid wear. -
How to ensure the corners of a cover are sturdy?
By making bar tacks or sewing tabs to reinforce and structure the corners. -
What is the easiest closure method for a beginner?
Zippers are practical but require some technique, while velcro is very simple to apply but less durable. -
How to maintain a cushion with an outdoor fabric cover?
Typically, clean by hand or with a damp cloth, avoid prolonged sun exposure and frequent machine washing.